Saving A Custom Report From An Existing Report
SAVING A CUSTOM REPORT FROM AN EXISTING REPORT
Process
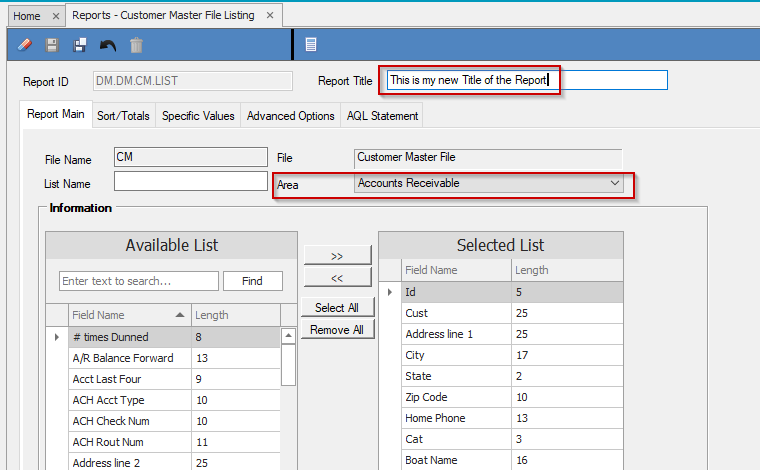
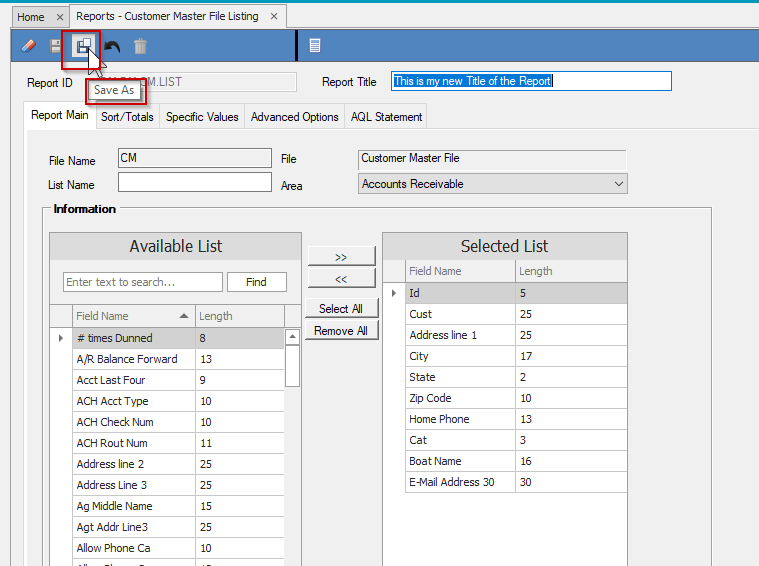
When creating a new report, or modifying an existing report, click the SAVE-AS Icon and you will be presented with a form to give the report a name. This creates a custom report with the ID you chose. You should also remember to change the Title of the report, and the Area where the report will be accessible.
For this example, a custom report is being created from the default FILE LISTINGS > CUSTOMER listing.
These screen prints show the Report Title, Area where report will be saved, the Save-As Icon, and the Report Id.
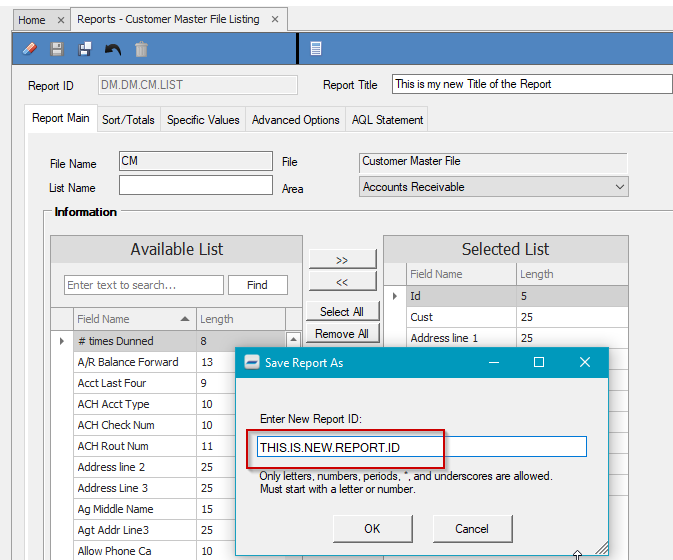
In this example the custom report will be found in ACCOUNTS RECEIVABLE > REPORTS > CUSTOM REPORTS > THIS.IS.NEW.REPORT.ID
Please Note: This process is subject to the Security of your Clerk set by the Administrator of the account.
**If at any point you run into any issues, feel free to email [email protected] for assistance.**