Cycle-Counts
Cycle Counts
Outline
- Print Cycle Count Sheet
- Save as Lists
- Count Inventory
- Input Counted Inventory using Inventory Adjustment’s
- Input any additional Inventory not in List
- Print Inventory Adjustment Report
Printing Cycle Count Sheets
Head to Inventory Management>Inventory Reports>Reports Press F6 to find DM.IN.COUNT.SHEET (or type in report name) Once this report is open, navigate to specific values and adjust it look like the screenshot below.

Enter the specific area name in Value Once done Print the Count Sheet
Save as a List
Go to the bottom of this page and use the SAVE-LIST function Name the list the same as the location name and hit the Create List button

Count Inventory
Count all inventory on your cycle count list.
Adjust Inventory
Go to Inventory Management>Maintenance Functions>Inventory/Fuel Adjustments Use F7 Parts List and enter the List Name created in the SAVE-LIST step. This will bring the parts up one at a time in the same order! Use Replace, enter the new corrected count in Quantity to Adjust or SKIP if the count is correct F6 or right click and list on the adjustment Code Field. If you don’t have an Adjustment code for cycle counts, go to Inventory Management>Maintenance Functions>Adjustment Codes to create one.
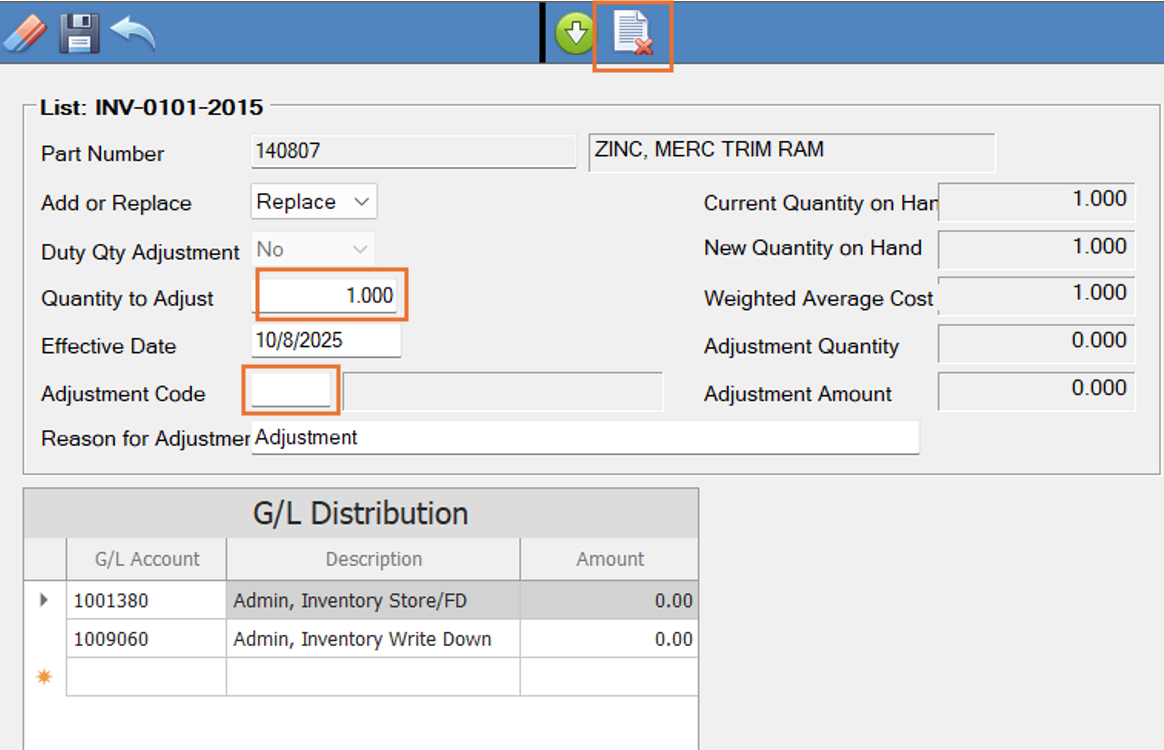
This will REPLACE the current QTY on Hand! (So beware of items in multiple locations, doesn’t not work like ADD mode in Physical Inventory Entry) Click Save and the next part will appear. Complete list and manually type handwritten parts to make the adjustment. Go to Part Inventory to correct any locations as necessary.
Inventory Adjustment Report
Go to Inventory Management>Inventory Reports>Inventory Adjustments It will default to "Today", print and you will be able to see all adjustments made that day. Adjust Specific value dates as needed to view a broader range.