Guide - Designer Layouts - Add Logo
Adding a logo to a Service Designer Layout
Go to Service Management > Printing > Layout Maintenance
Click Open and choose the layout you would like to the logo to.
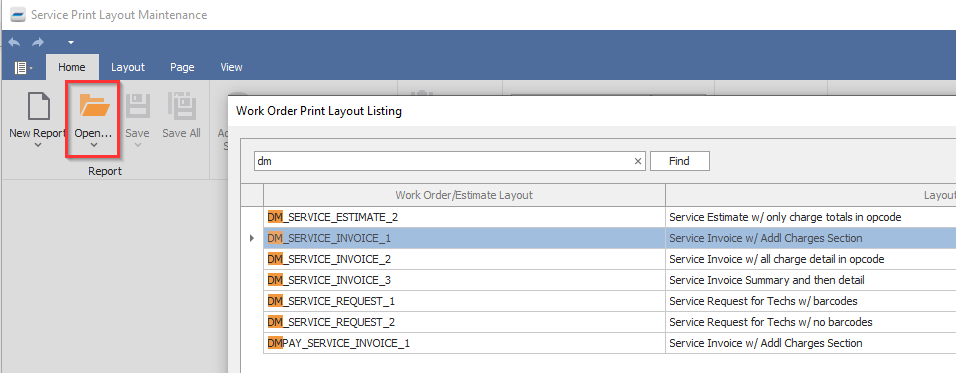
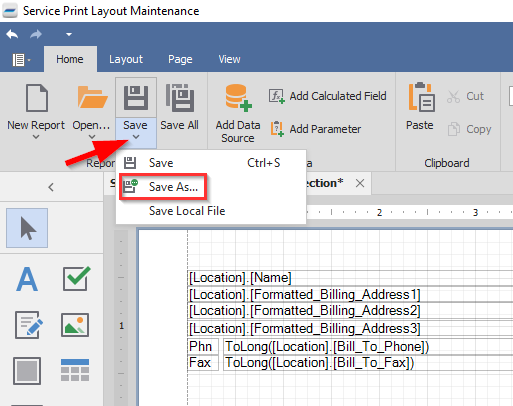
Because the “stock” layouts cannot be modified, it needs to be saved with a different name. To do that, click below the “Save” button where the down arrow is and a menu will appear. Choose “Save As..” and save the layout with a new name.
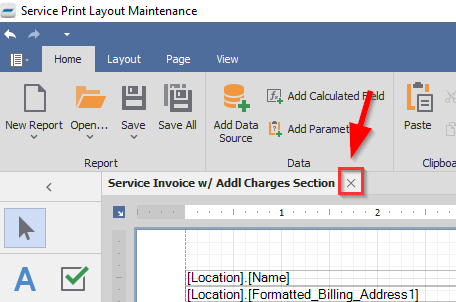
Once the layout is saved with a new name, close the currently open layout by clicking the “X” to the right of it’s name in the tab.
Now “Open…” the new layout that was just saved.
Remove the Location Information if that information is in the logo, or move it down if the information is not in your logo.
To remove it, click and drag a box around all of the location fields
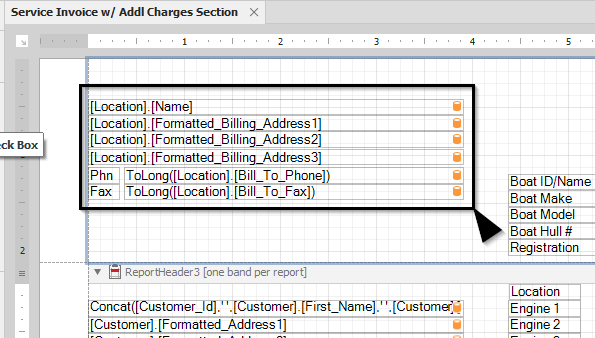
They will all highlight
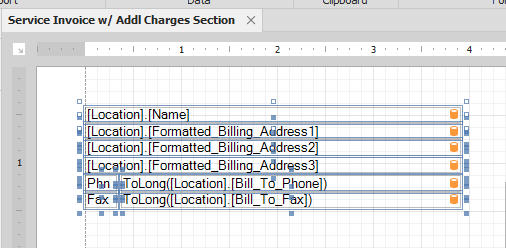
With them all highlighted, press Delete and they will go away.
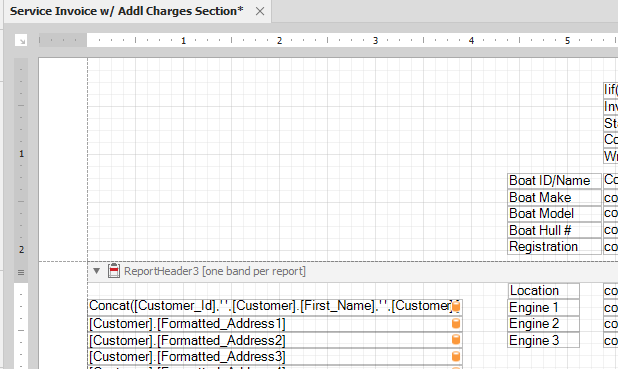
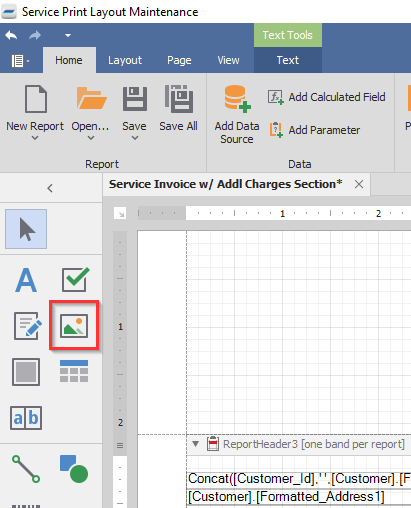
To add the logo, click the Picture Box tool
and click and drag the box to contain the logo.
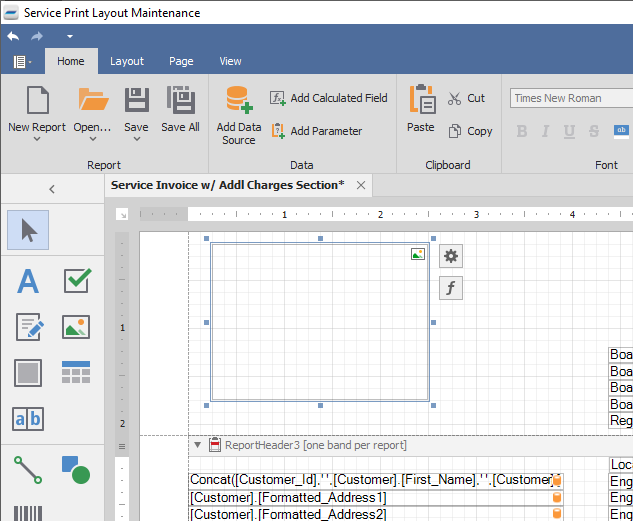
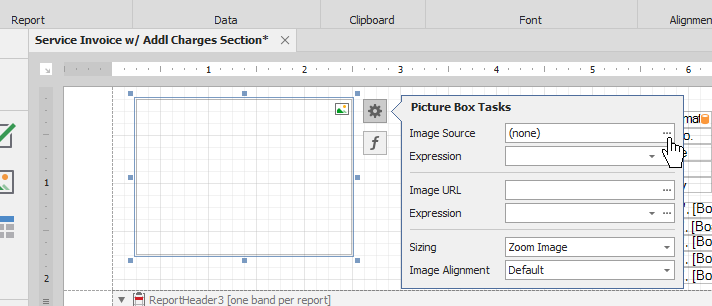
Click the “settings gear” attached to the box and click the “…” in the “Image Source” field.
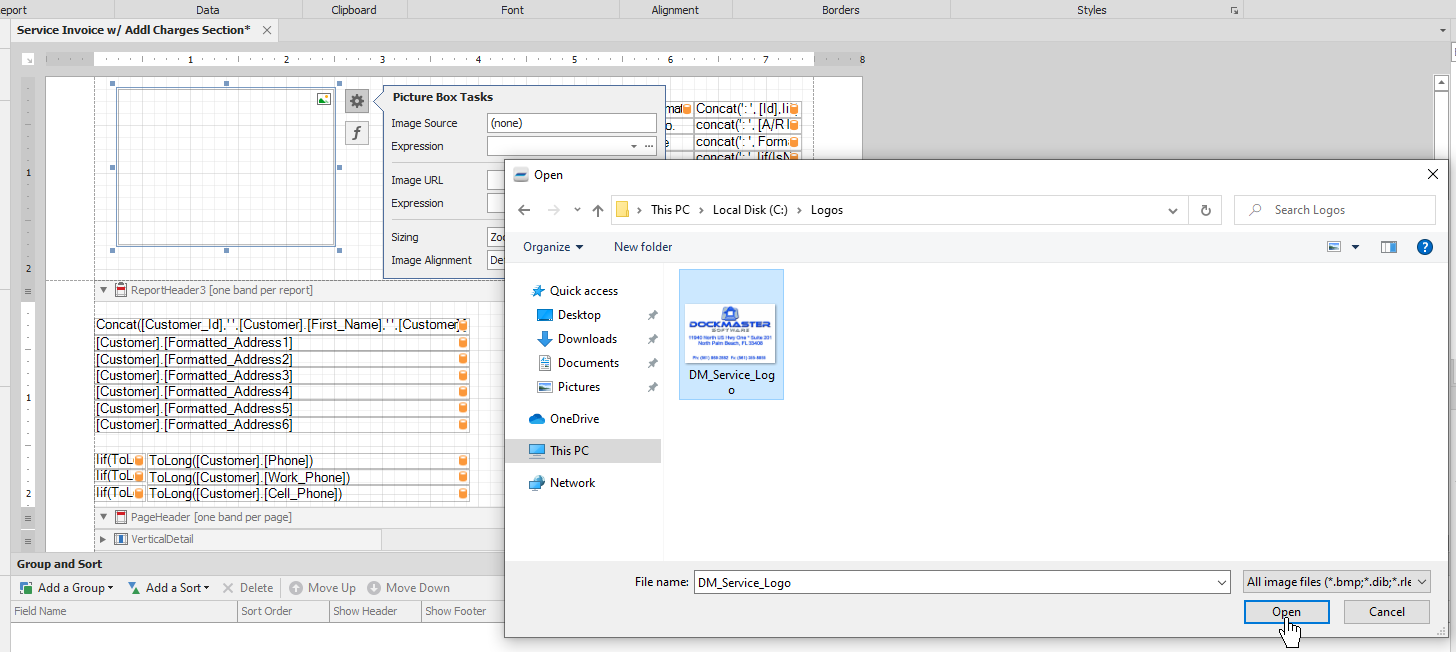
Browse to the logo file, highlight it and click the �“Open” button
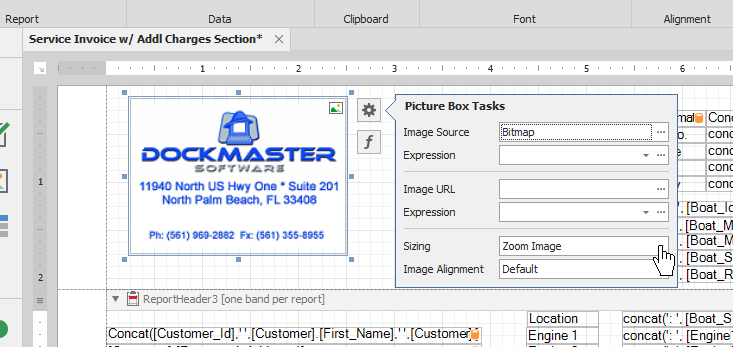
The logo will populate the box that was drawn, but it may not fill the box the way it should. To solve this, click the “…” in the “Sizing” field and choose “Stretch Image”. This will make the logo always stretch to fill the box dimensions. Now click and drag the edges of the box to make the logo the desired size.
Now click the “Save” button at the top and test print the service layout.
**If at any point you run into any issues, feel free to email [email protected] for assistance.**