Layout Builder
This guide explains how to locate, customize, and manage DockMaster print layouts using the Layout Builder.
Print Using Standard Layouts
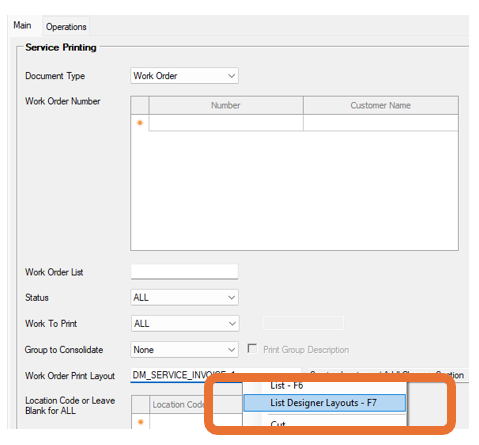
You can locate standard layouts by selecting List Designer Layouts (F7) in the print layout field.
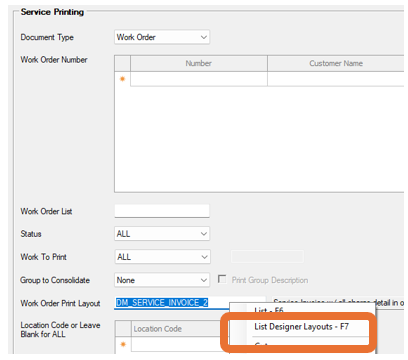
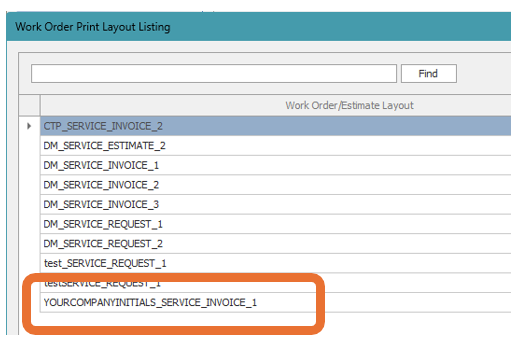
- Open the list of available layouts.
- Double-click a layout, or single-click to highlight it and click Select at the bottom of the window.
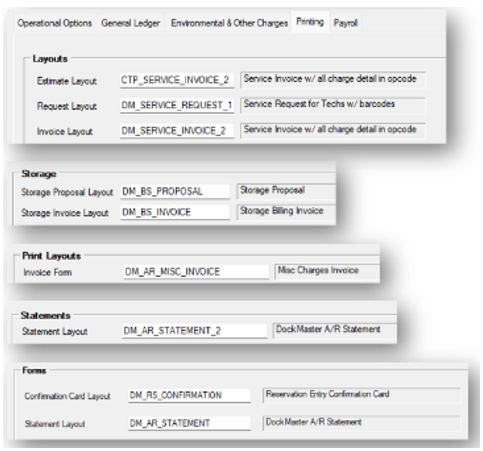
Change Default Layouts
To choose standard layouts as your company defaults:
- Go to System Administration → Configuration → Select Program Area.
- Choose your new default layout.
Note: Selecting a new default updates the layout default for all users.
Individual users may override the default during the printing process.
Access the Layout Builder
Service Layouts
Navigate to:
Service Management → Printing → Layout Maintenance
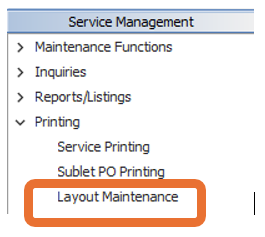
A new window will open: Service Print Layout Maintenance.
![]()
All Other Layouts
Navigate to:
System Administration → Utilities → Layout Maintenance
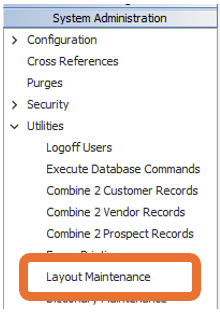
A new window will open: Print Layout Maintenance.

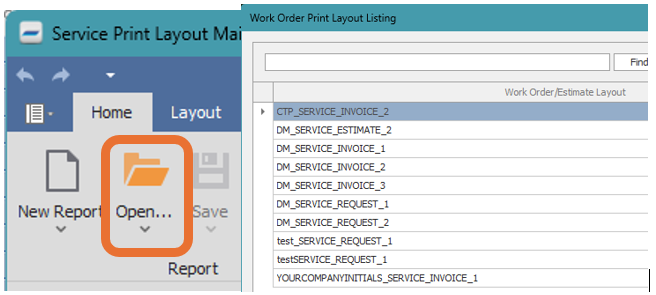
Create a Custom Layout from a Standard Template
- Click the Open button to view and select from the list of available layouts.
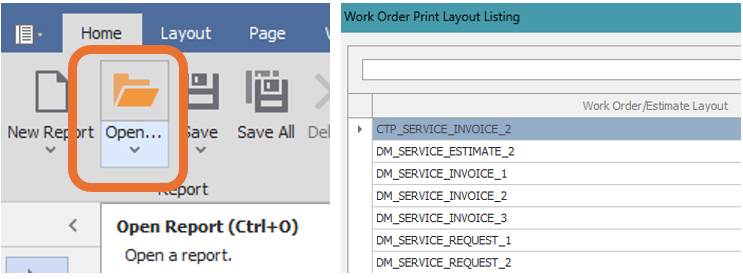
- Templates beginning with
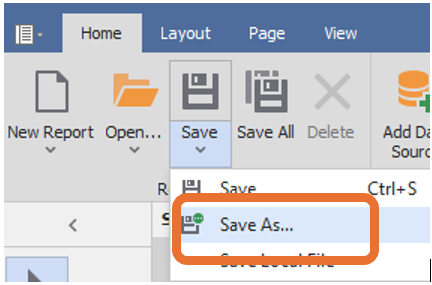
DM_cannot be overwritten. - Use Save As to create a copy for your team’s use.
- Click the down arrow below the Save button to name your new layout.
Tip: Use a naming convention that begins with your company initials (unless they are “DM”), your personal initials, or another identifiable prefix.
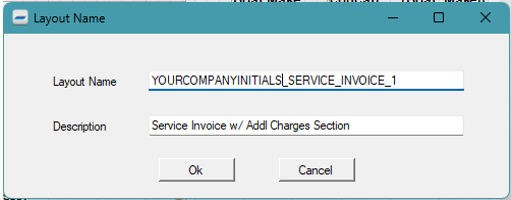
- Click OK to save your copy.
- Close the standard layout tab using the X.
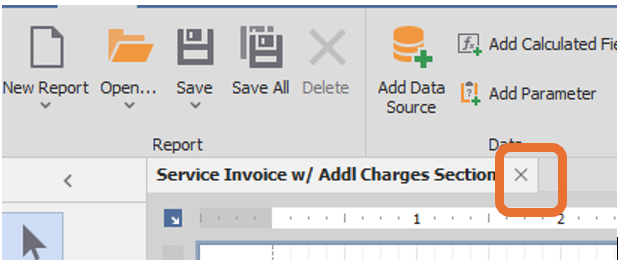
- Reopen the layout you just saved.
⚠️ CAUTION: Do not use the New Report button to start from scratch.
Some required default properties may not be set correctly for DockMaster.
Instead, use Save As, open the new copy, and delete unused elements.
This ensures all defaults remain valid.

Modify Your Custom Layout
Each element in the layout can be customized through its configurable properties.

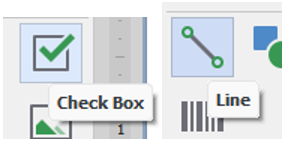
Add Elements
Hover over each element to see a tooltip explaining its function.
- Select an element.
- Drag or click on the document to place it.
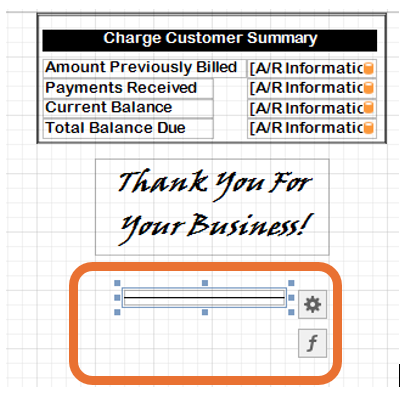
Modify Appearance & Behavior
Use the Properties section to adjust how your elements look and behave.
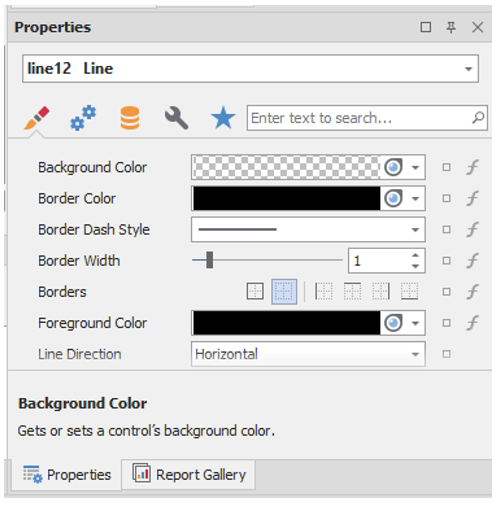
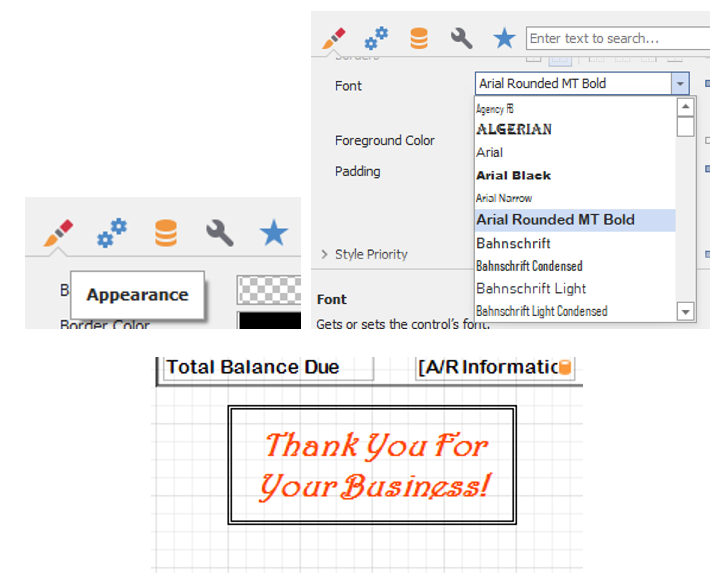
Appearance
- Change font, size, color, padding, and other styles using the paint brush icon.
- Hold
CTRLand click multiple fields to edit several at once.
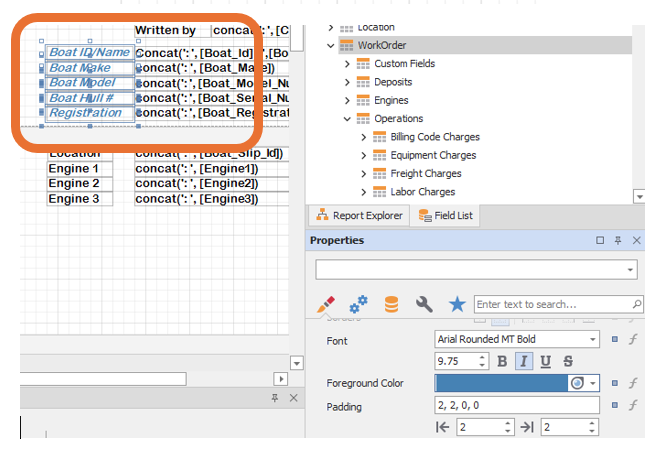
Behavior
- Change behaviors using the gears icon (e.g., shrink, grow, wrap text, multiline).

- Example:
- Can Grow: Useful for Work Orders with many Operation Codes — expands to fit long text.
- Can Shrink: Useful for Sublet fields — omits empty lines when unused.
Recommendation: Make small, incremental changes.
Preview your layout in DockMaster after each modification to verify the behavior under different scenarios.
Add or Remove Fields
- Add new data fields via the Field List — available fields appear in the selection box.
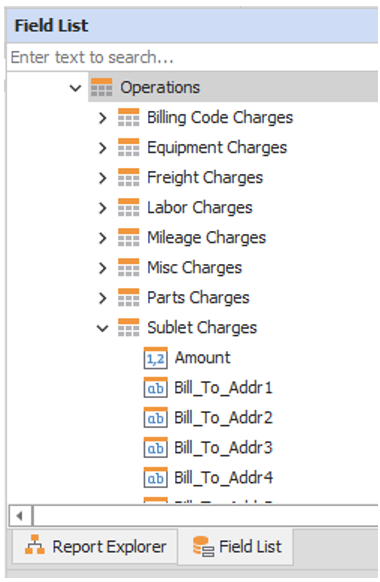
- Remove a field by selecting it and pressing the Delete key.
⚠️ CAUTION: Do not use the Delete icon with the large red X — it will delete the entire document, even if you click “No” in the confirmation popup.
Save Your Updated Custom Layout
- Click the Save icon to save your work.
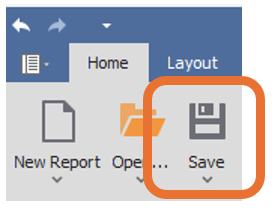
- Use Save As to create alternate versions of similar layouts.
- Always close the layout that remains open after Save As and reopen the new version you just created.
Use Your Custom Layout
Once saved, your custom layout appears as a print option in the same list as standard layouts.
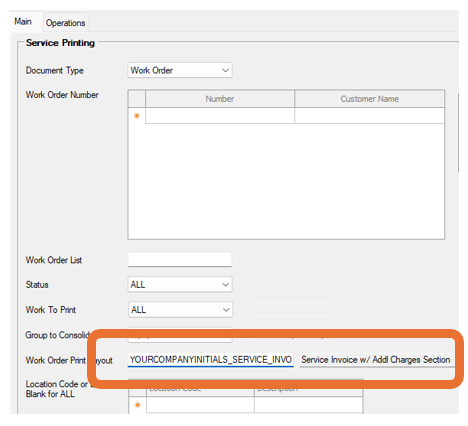
- Select your layout from the list.

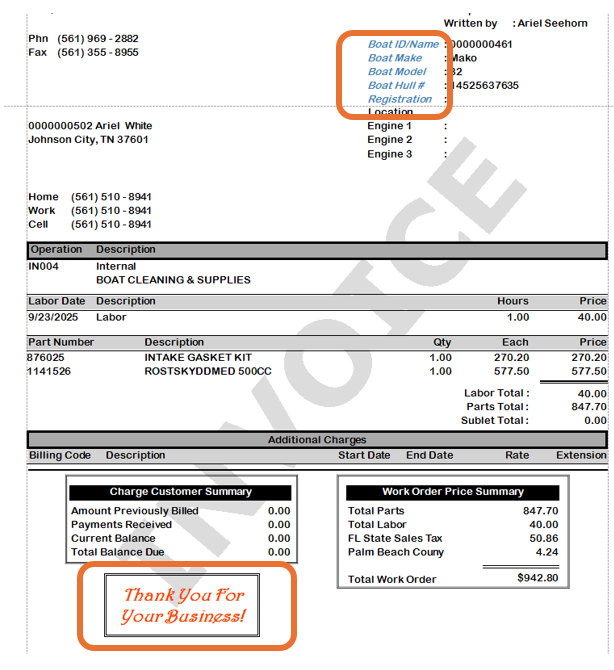
- Click the magnifying glass icon to preview before printing.
Additional Resources
For more detailed information about the Layout Builder and advanced customization options, refer to the official DevExpress Report Designer documentation:
DevExpress Report Designer for WinForms Guide
Last updated: 17-Oct-2025