Epson Receipt Printer Setup
Epson Receipt Printer Setup
This guide is to setup the Epson TM-T88VI Networked receipt printer. You will need a Windows Admin account for this.
Epsons do Not need to go in Dockmaster Configuration.
The Epson TM-T88VI Networked receipt printer will pull an IP automatically upon install the local network, it will spit this IP info out on a printed paper. Get this IP from the customer as it will be necessary.
***WARNING, the Epson TM-T88VI Networked receipt printer should NOT be installed in Windows Devices and Printers, it will not work for POS if it is in Windows first. Remove Device on the Epson TM-T88VI Networked receipt printer if you find it in Windows Devices and Printers, before you continue.***
The following links will be used to download the necessary software to run the Epson TM-T88VI Networked receipt printer.
First and foremost, the latest Epson OPOS software requires the latest Microsoft POS for .Net 1.14.1 to be in place.
Previously Dockmaster default installs Microsoft POS for .Net 1.14, this is obsolete with the latest Epson OPOS software, so we need to Uninstall Microsoft POS for .Net 1.14 from Windows.
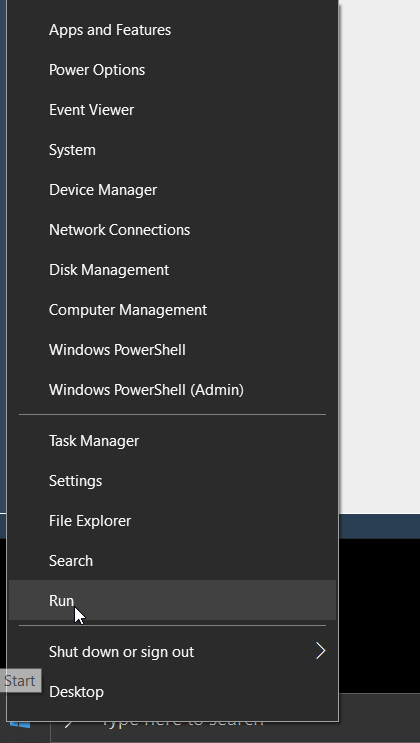
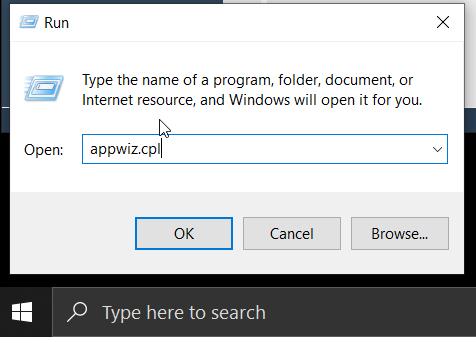
In Windows, go to Start - Run, type in APPWIZ.CPL, Hit Enter

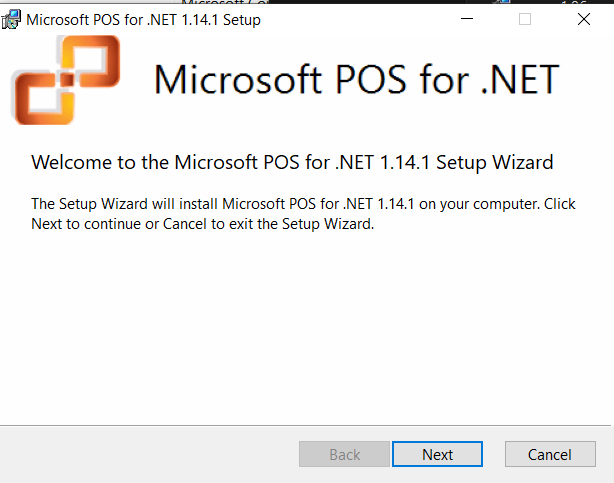
After you uninstall Microsoft POS for .Net 1.14 , download and run Microsoft POS for .Net 1.14.1 from this link, use defaults to complete a standard install.
click NEXT
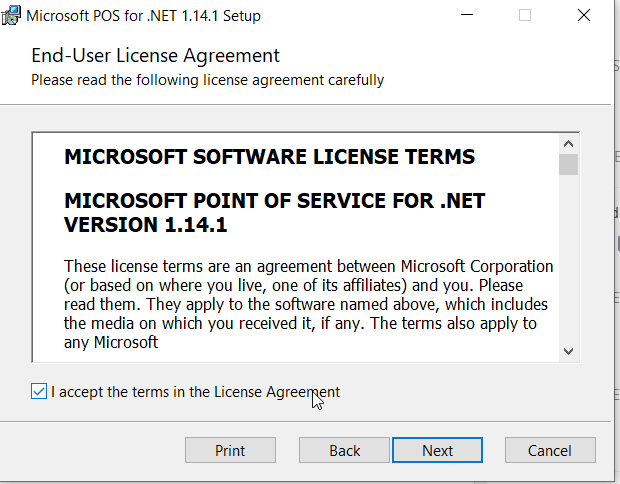
Check Accept and click NEXT
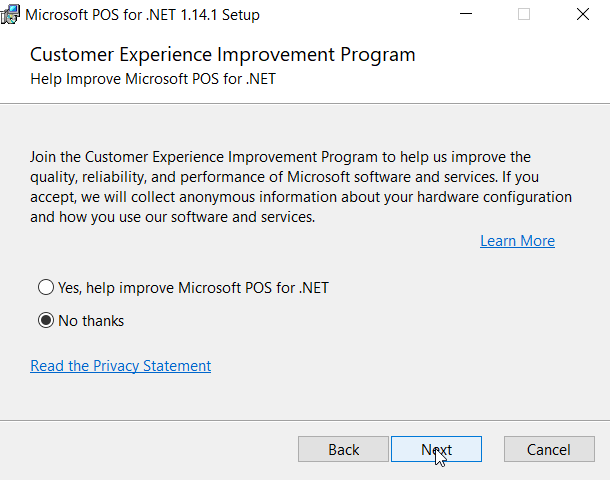
Check No Thanks
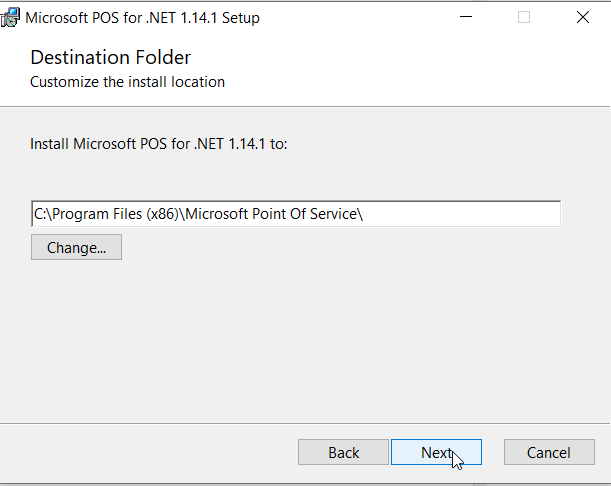
Default location is fine
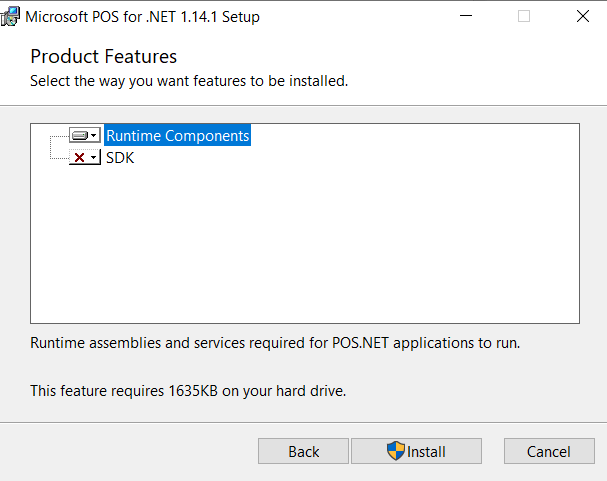
Defaults are fine, click INSTALL
When Windows asks, you Do Want To Allow Changes to Be Made, then the Microsoft POS for .Net 1.14.1 install will complete.
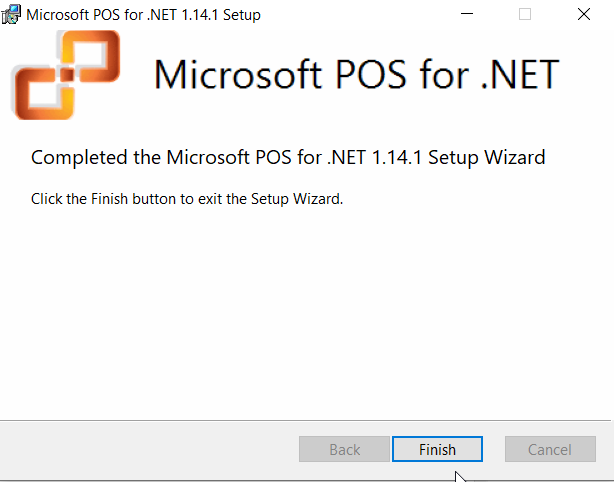
Go back to APPWIZ.CPL and see that Microsoft POS for .Net 1.14.1 installed

Next download the Epson OPOS software from this link
Run this as follows:
First Unzip, default of C(or which ever drive is available) is fine.

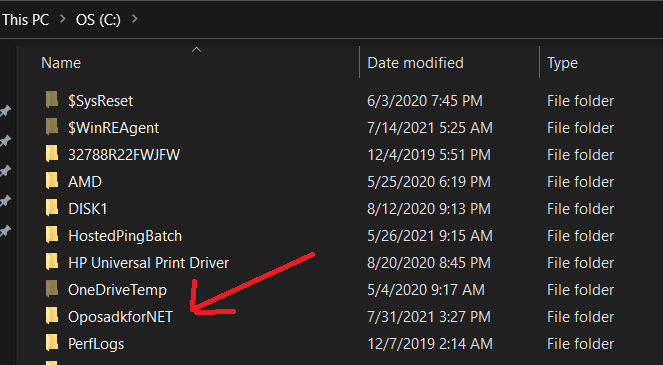
Find the unzipped folder called "OposadkforNET"
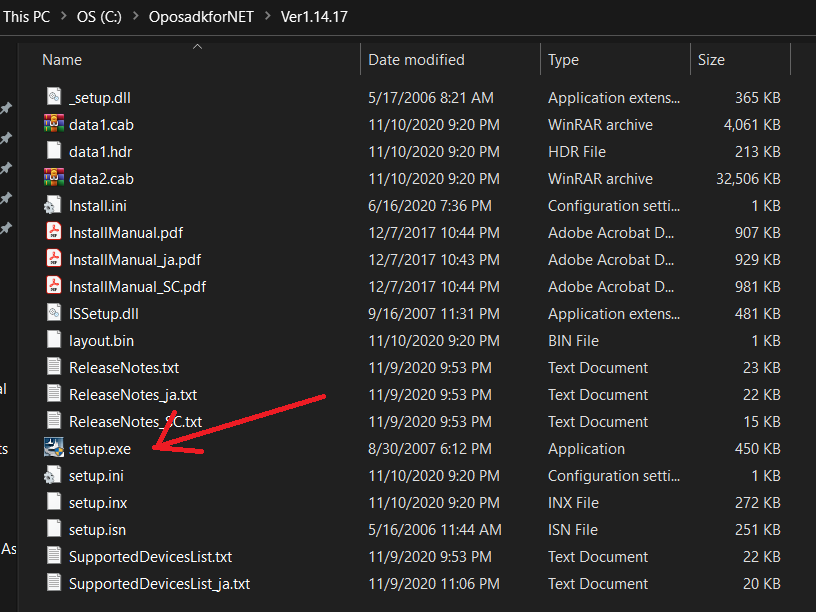
Go run the SETUP.EXE file, when Windows asks, you Do Want To Allow Changes to Be Made
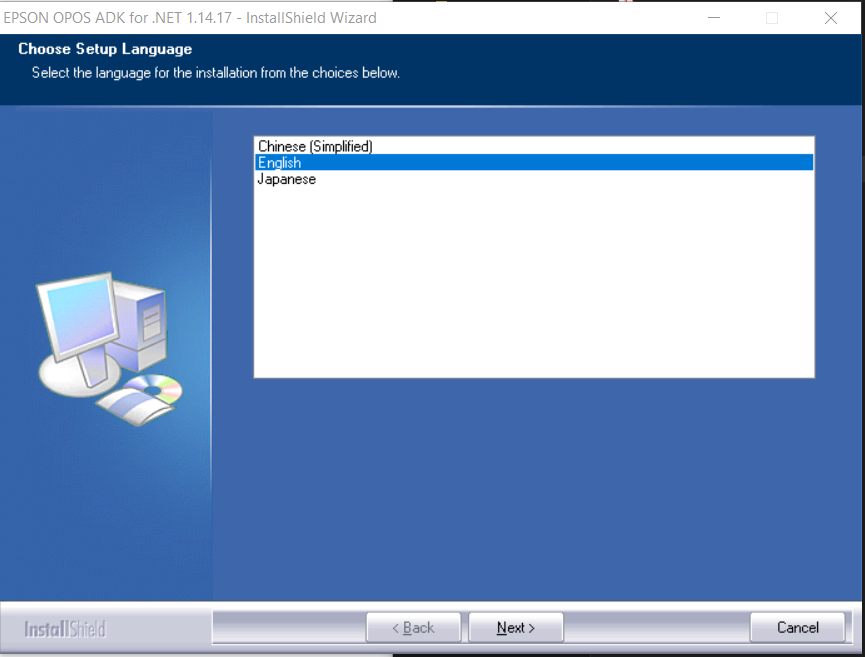
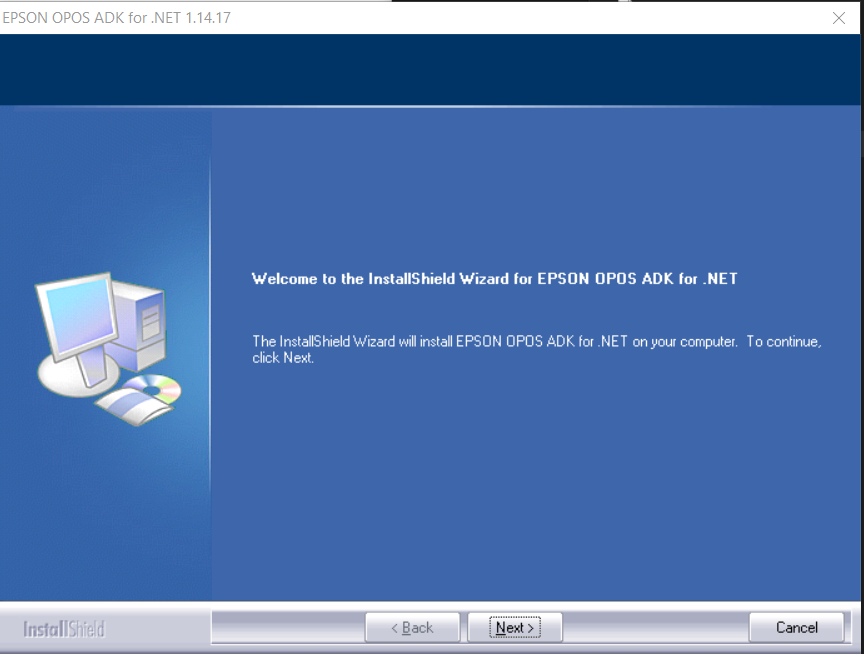
Hit NEXT
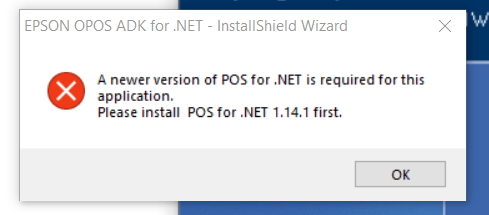
If you did NOT install the proper verison of Microsoft POS for .Net 1.14.1 the following error will occur, Stop this Epson install and go Fix the Microsoft POS for .Net 1.14.1 install as stated above.
If you have the proper version of Microsoft POS for .Net 1.14.1 installed then the install will continue as follows
Click Next
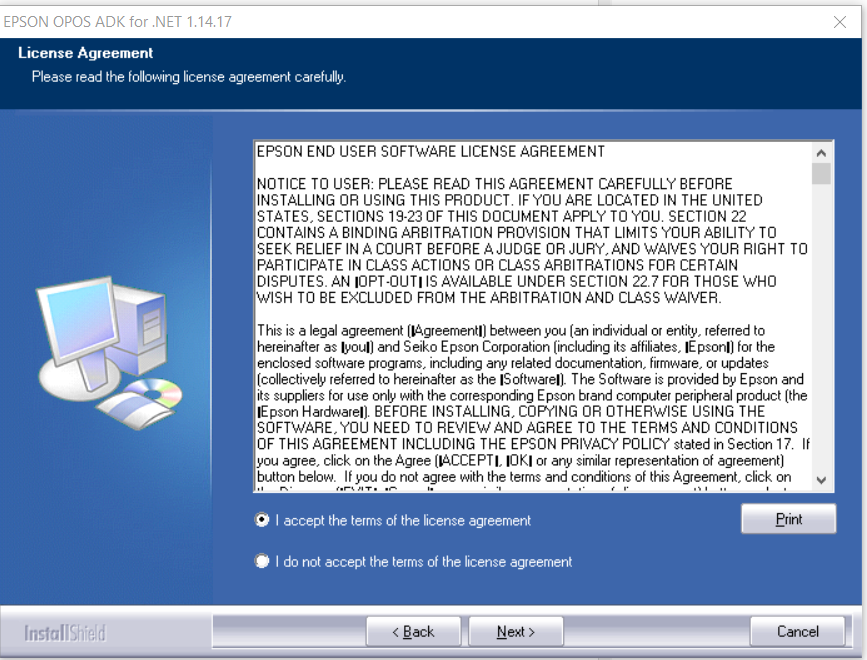
Check I Accept, click NEXT
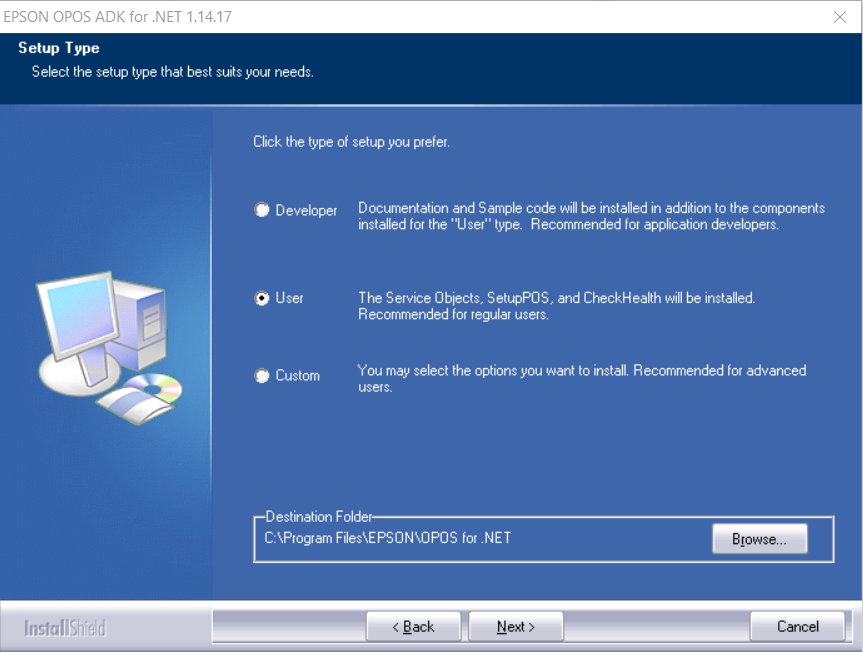
Check USER for setup type, click Next
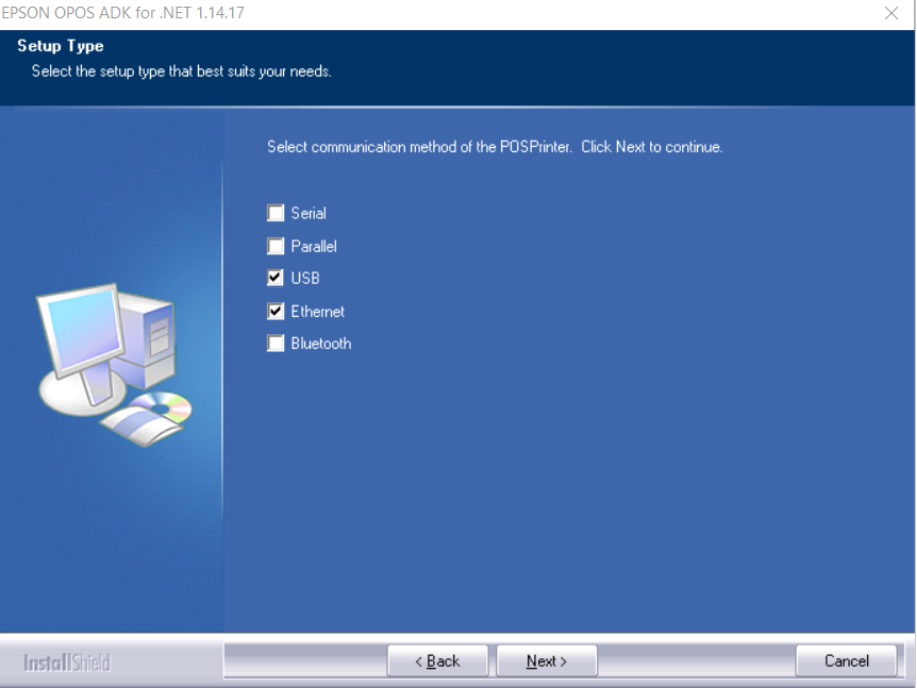
Check Ethernet and USB for communication method, click NEXT
Click NEXT
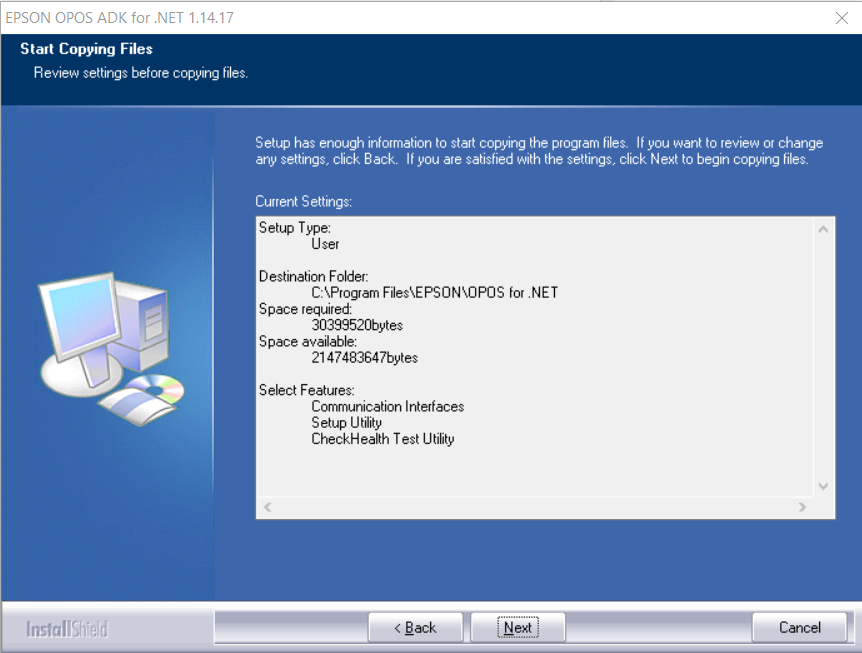
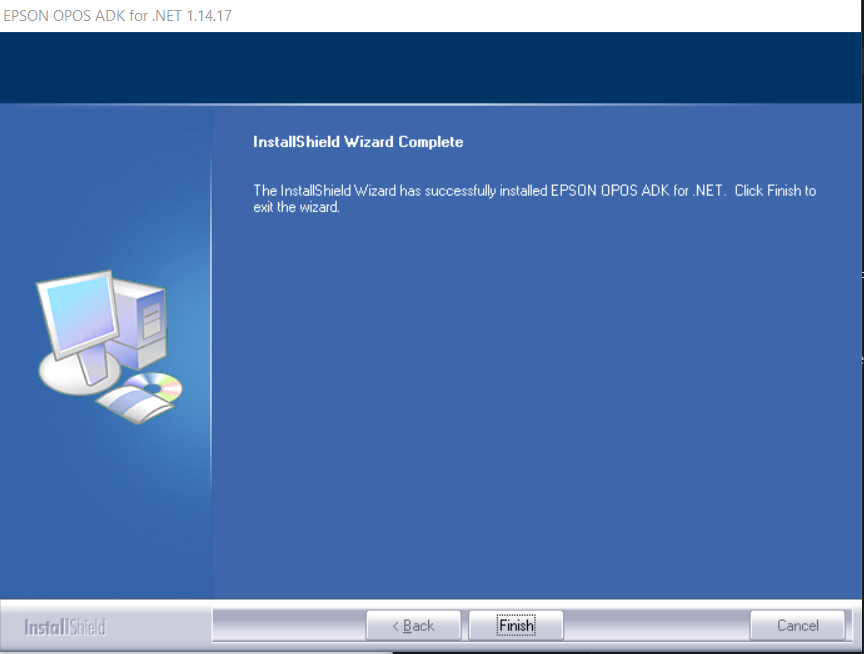
The installer will run through its actual install automatically, when it completes, click FINISH
You have completed the Epson software install, now we move on to setting up the Epson TM-T88VI Ethernet receipt printer.
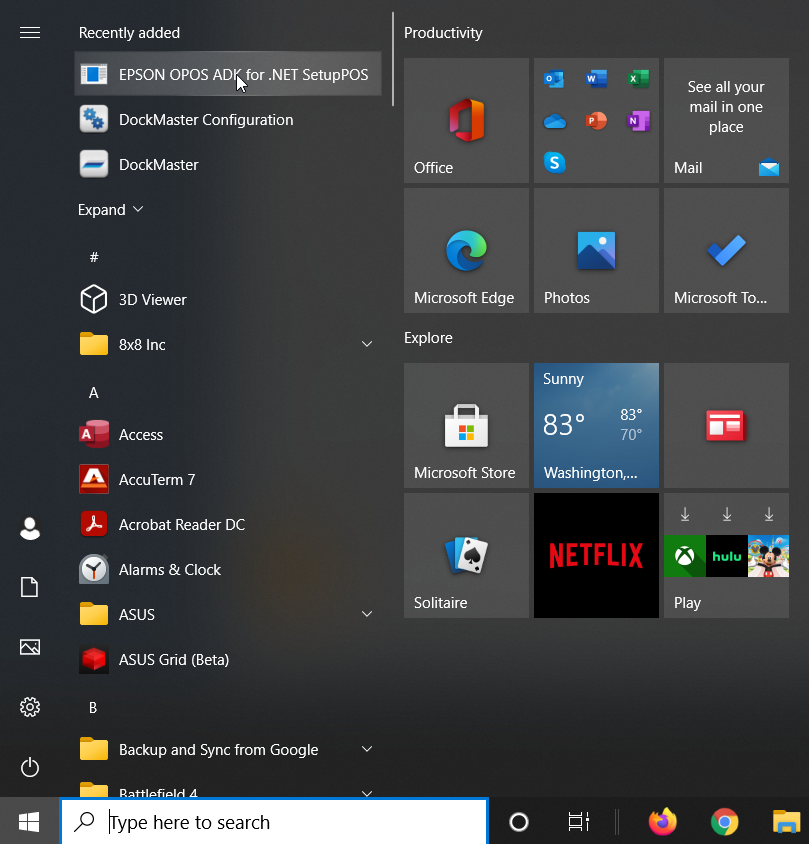
In Windows, Start - EPSON OPOS ADK... you can search for it as well in Windows - RUN AS ADMIN or it will not open!!!!
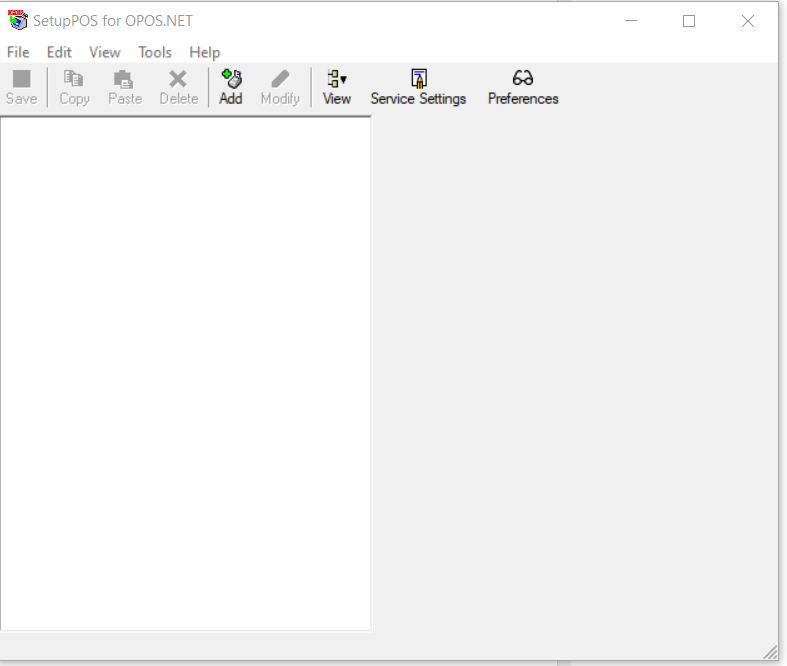
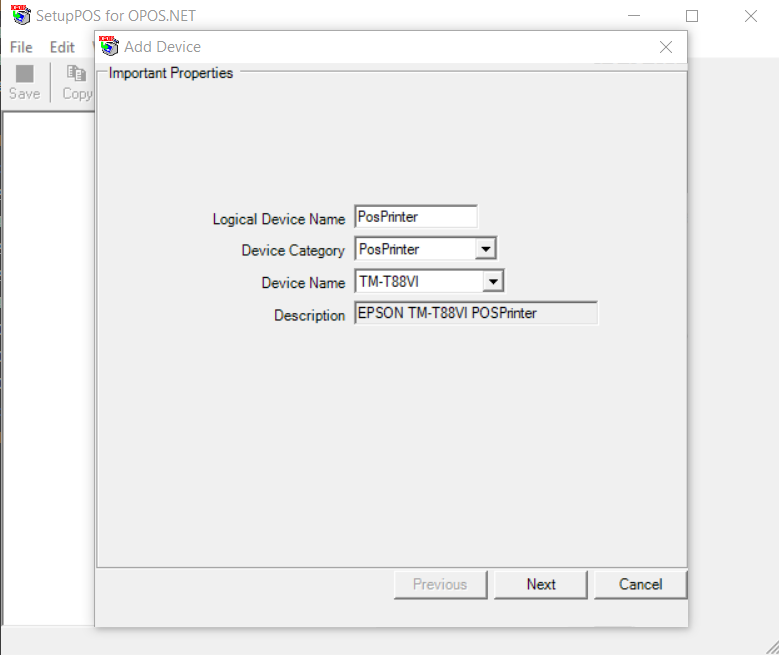
Click ADD
Choose the proper Epson printer in the Device Name drop down, it Must match the Exact printer model you are installing. Click Next
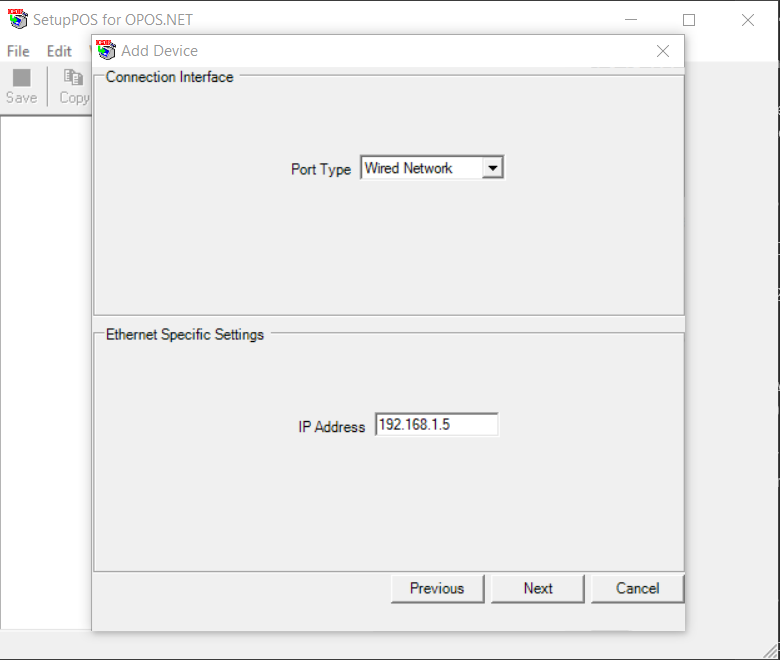
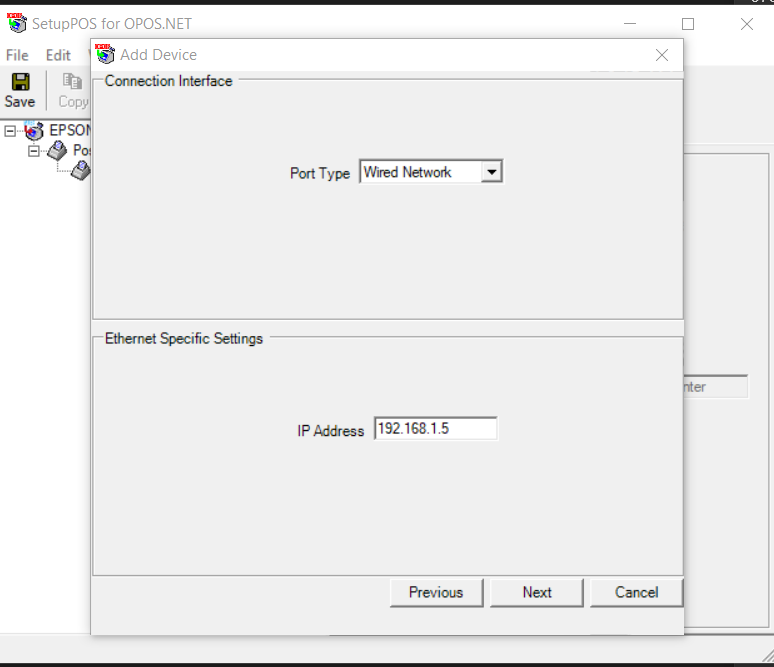
Choose Wired Network in the Port Type drop down menu, then add the IP of the receipt printer you are setting up.
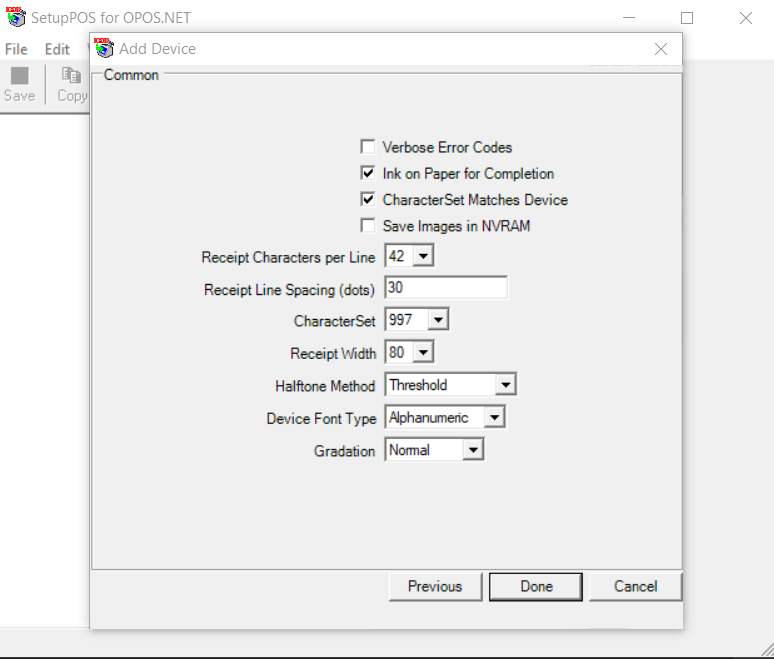
Leave defaults and click DONE
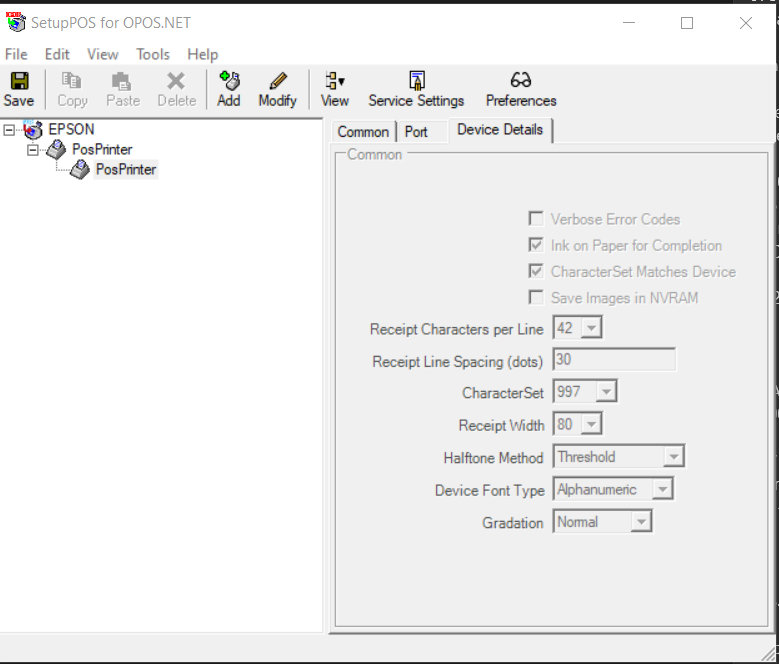
The Epson TM-T88VI is now ready to use. We can now add a Cash Drawer to it if needed.
Click Save first, then Click on PosPrinter then click Add
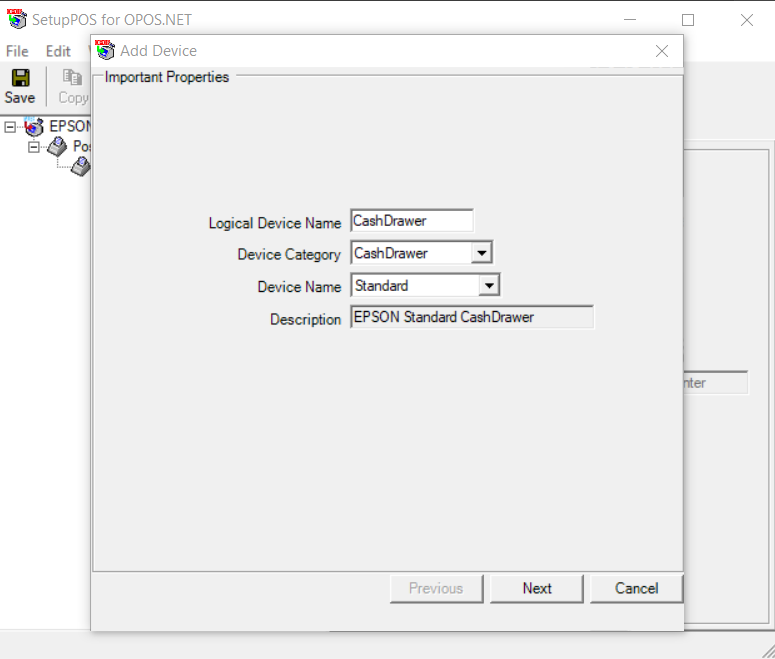
Choose CashDrawer from the Device Category drop down menu, leave defaults, click Next
Choose Wired Network in the Port Type drop down menu, then add the IP of the receipt printer you just setup. This is going to let that receipt printer control the cash drawer.
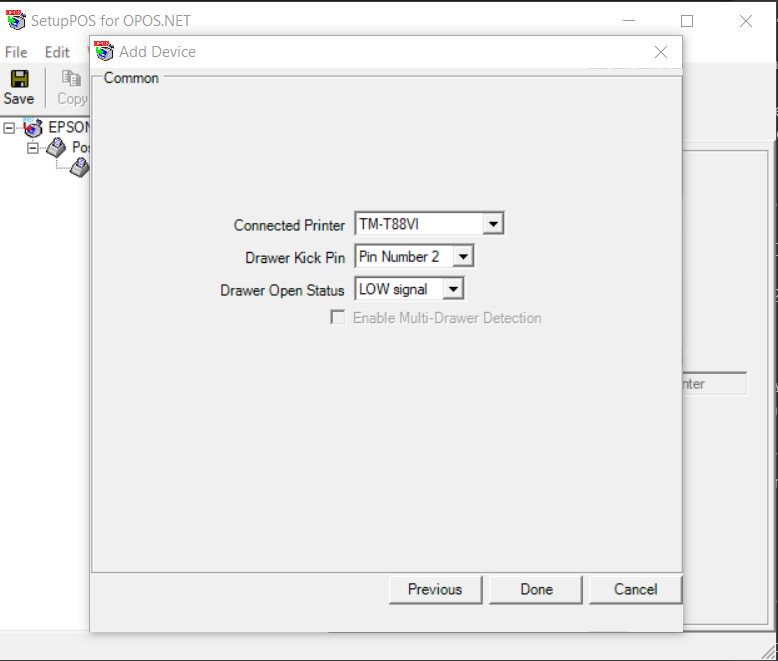
Choose Receipt printers exact model again in the Connected Printer drop down menu, leave the rest as default. Click DONE
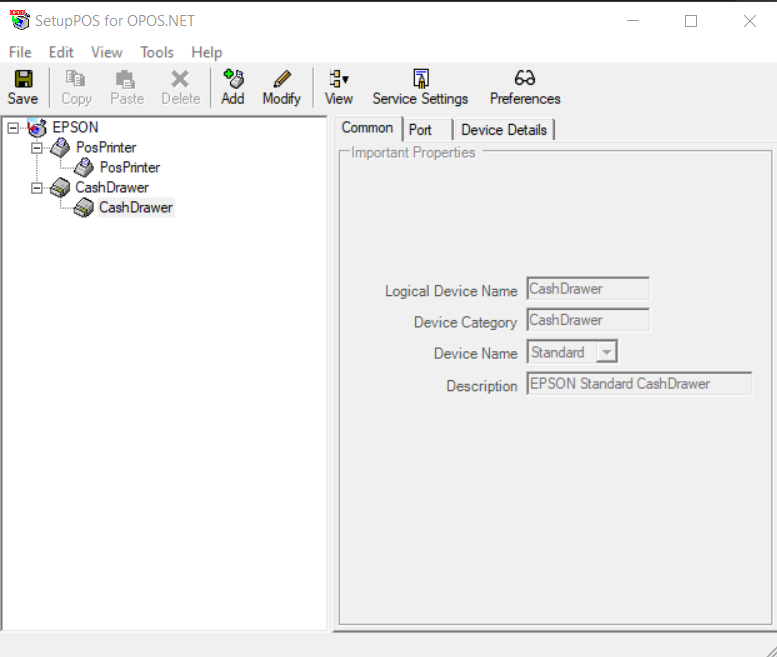
Cash Drawer will now appear in the Epson software as well. Click Save!!
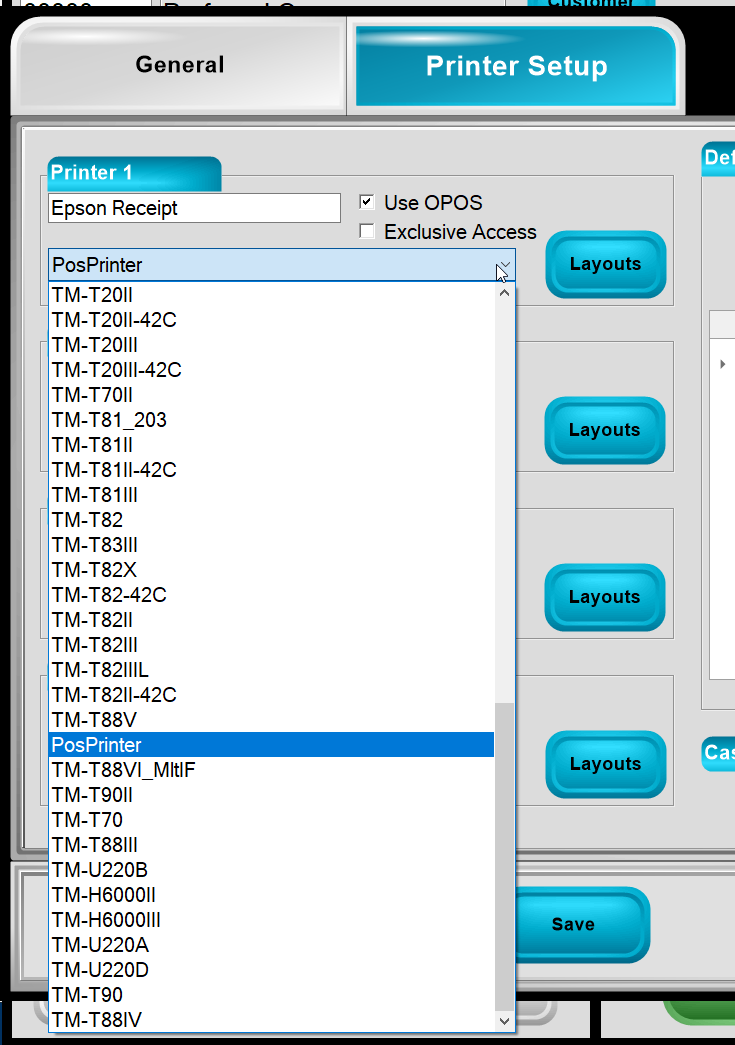
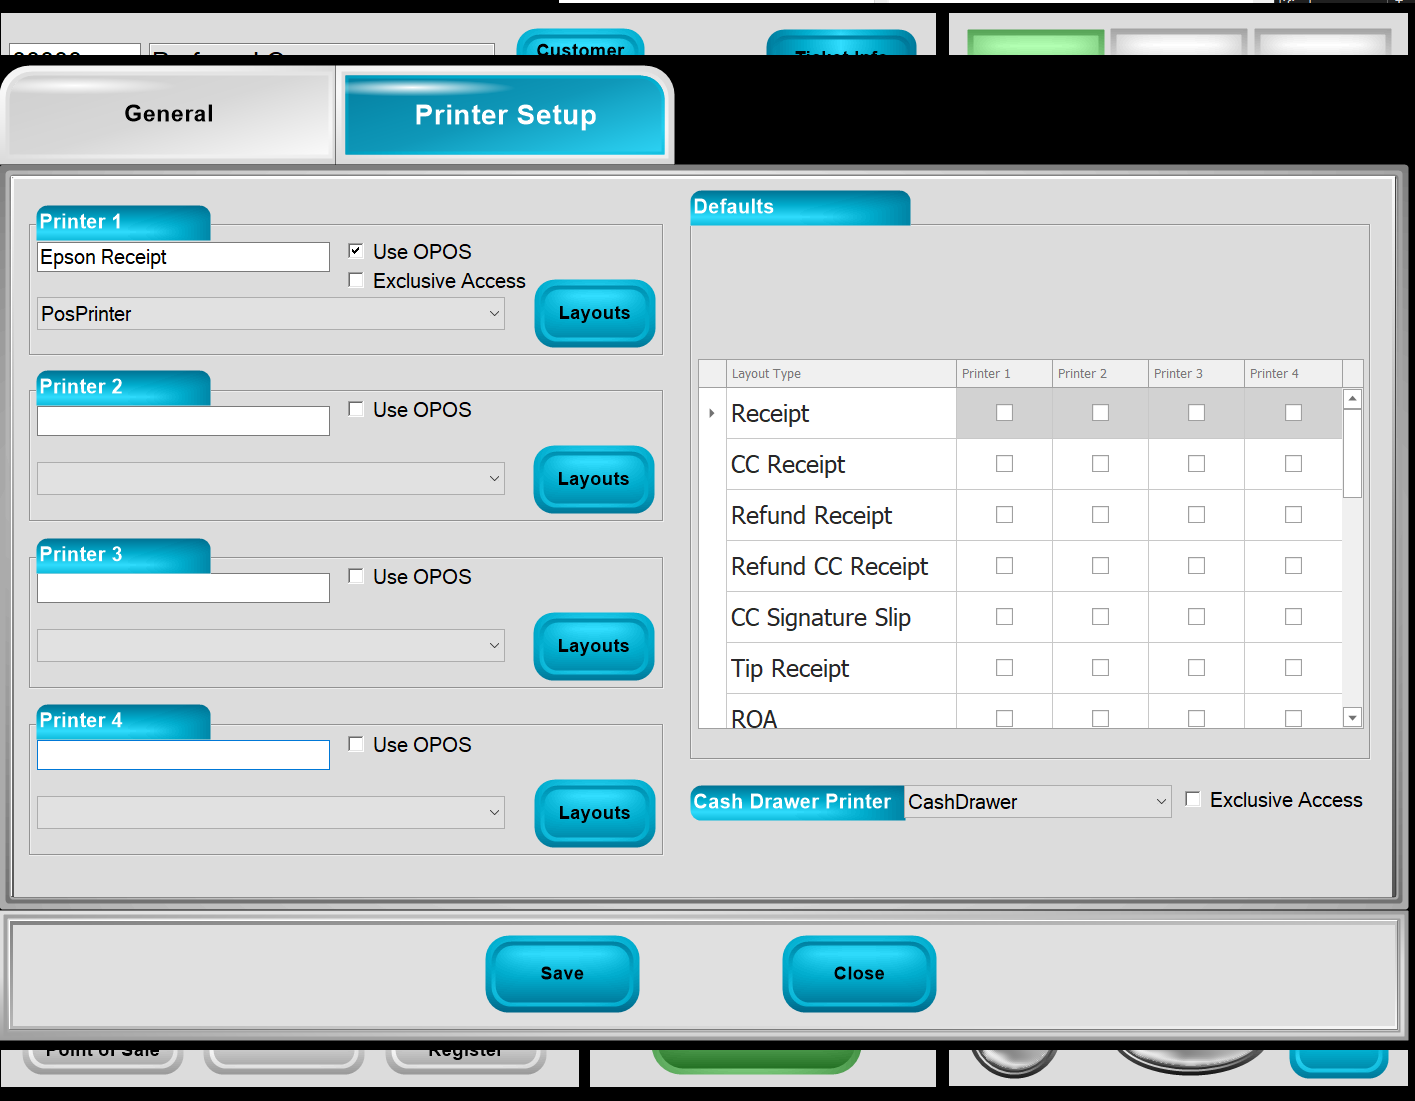
Now in POS printer setup, label the printer name, check Use OPOS, open the drop down menu and find and choose PosPrinter(you set this up in the Epson software as this name)

Now setup the Cash Drawer in POS after this.
Under the Cash Drawer drop down menu, find and choose CashDrawer(you set this up in the Epson software as this name)
You are done setting up an Epson receipt printer for POS, you can go ahead and test prints and cash drawer opening as needed.
**If at any point you run into any issues, feel free to email [email protected] for assistance.**