Point Of Sale Printer and Scanner Configuration
Point Of Sale Printer and Scanner Configuration
Receipt printers and Scanner must be configured for the workstation prior to being used in Point Of Sale (POS). Only the models listed in the system requirements are currently supported.
From the desktop locate the DockMaster application group, and from within it select the DockMaster Configuration app. The form will open to the Data Connections tab,

Select the Printers / Scanner tab.
Printer Configuration
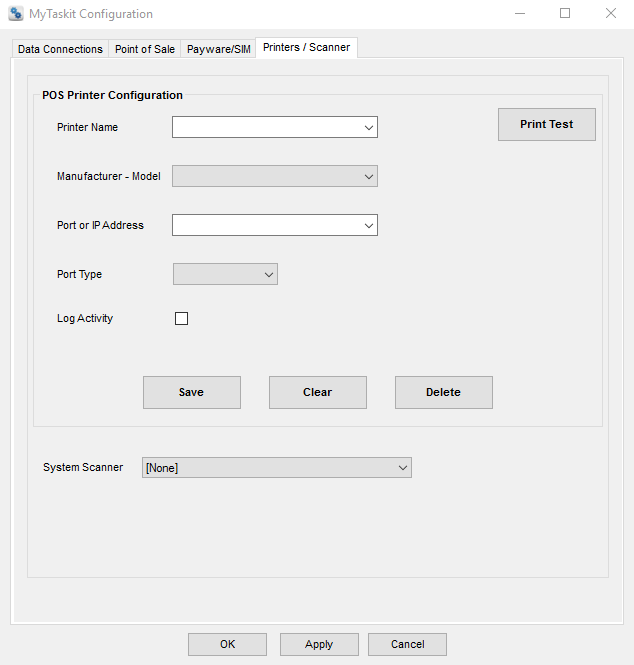
To configure a new POS printer enter a name for the printer in the printer name field. The name should be representative of the printer model or location or workstation name etc. If maintaining a current printer select it from the dropdown.
Select the Manufacturer - Model from the drop field.
Enter the IP address of the printer, depending on the printer model you can obtain this by turning the printer off then on to print it. Or connect to the printer using the manufacturers configuration utility to locate it. ***Note, we only support Ethernet connectivity for POS printers if you have an older model Ithaca ITherm 280 USB model it might work via USB with limited functionality. However it will not be supported should there be any issues with it.
In the Port Type dropdown select Ethernet/IP
Ignore the Log Activity flag and Log File path.
Once the above has been entered and confirmed you must click the Save button before adding another printer or scanner. if done click apply and OK to exit the form.
Scanner Configuration
To add a Symbol or Motorola LS4208 scanner to the workstation it must be configured already to scan in HID mode. If the scanner was purchased from DockMaster it is already in HID mode. If not refer to the setup documentation that comes with the scanner to configure it to scan in HID mode.
In the System Scanner dropdown select the brand name of the LS4208 scanner that you have.
Click Apply and OK to exit the form.
.