Zebra Barcode Label Printer Setup
How To Setup a Zebra printer
1-Use the link below to install Zebra’s software:
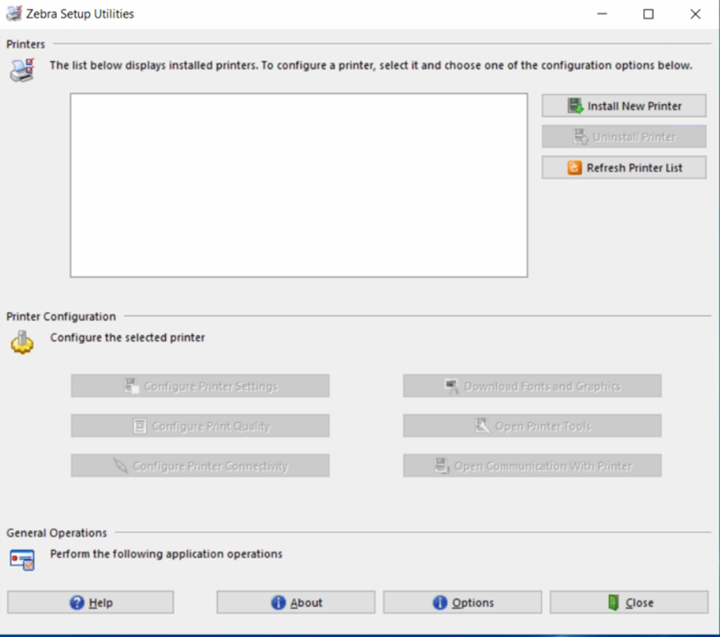
2-Go to Windows search and look for Zebra Setup Utilities.
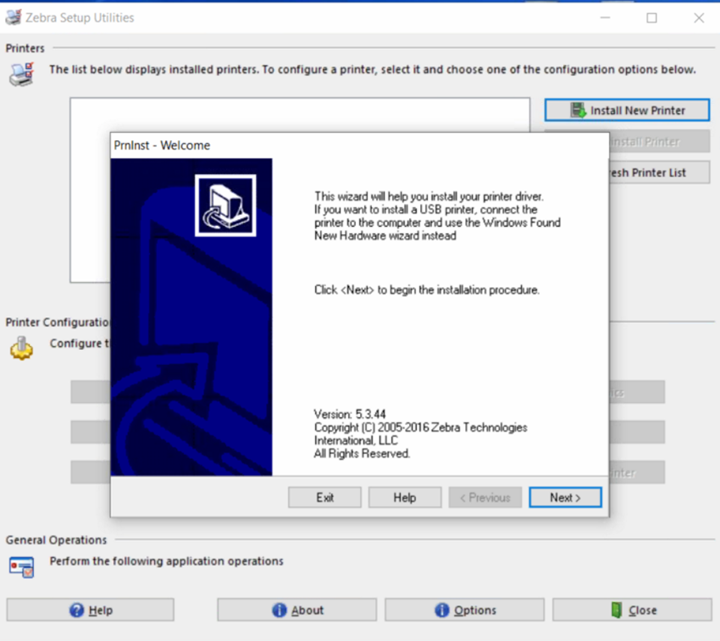
3-Press on Install New Printer.
4-Hit Next.
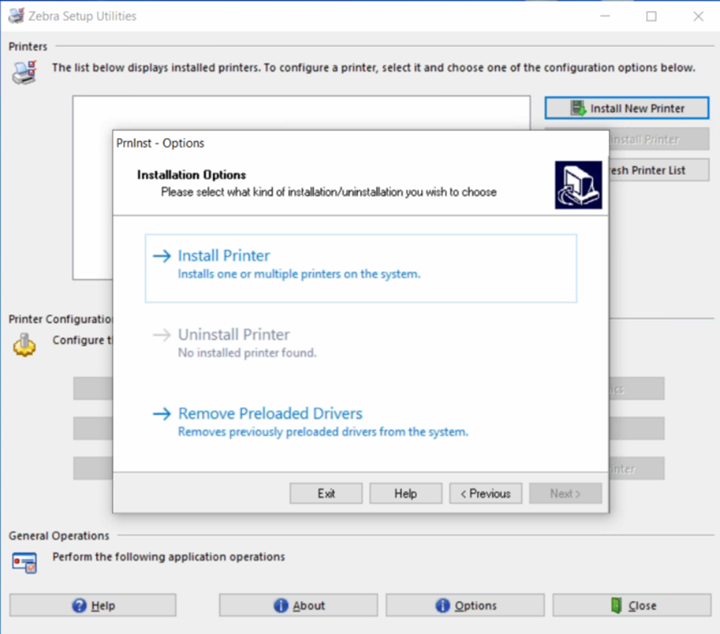
5-Choose Install Printer and hit Next.
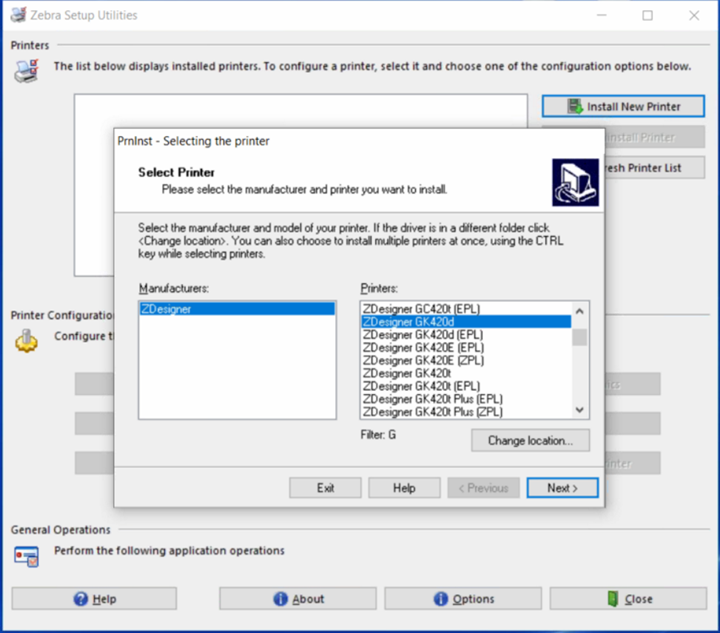
6-Select the exact model of the printer from the drop-down menu under “Printer” and hit Next.
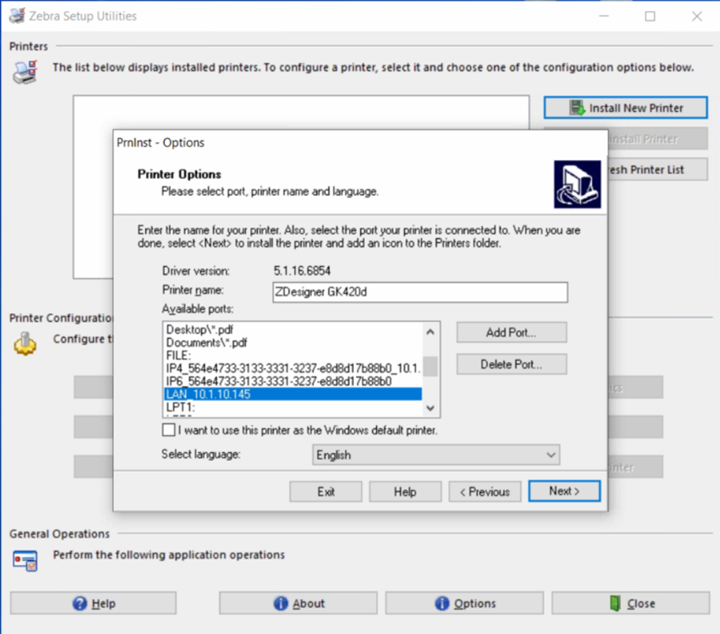
7- Enter the printer’s name next to “Printer name” and select the port which matches the printer’s IP and hit Next.
- (Printer’s IP can be obtained by pressing and holding the feed button until the status LED flashes one time. Then release the feed button and a series of status information labels gets printed/ older models requires pressing on the Feed and cancel button for 2 seconds).
- If the port does not exist, click Add Port to create one
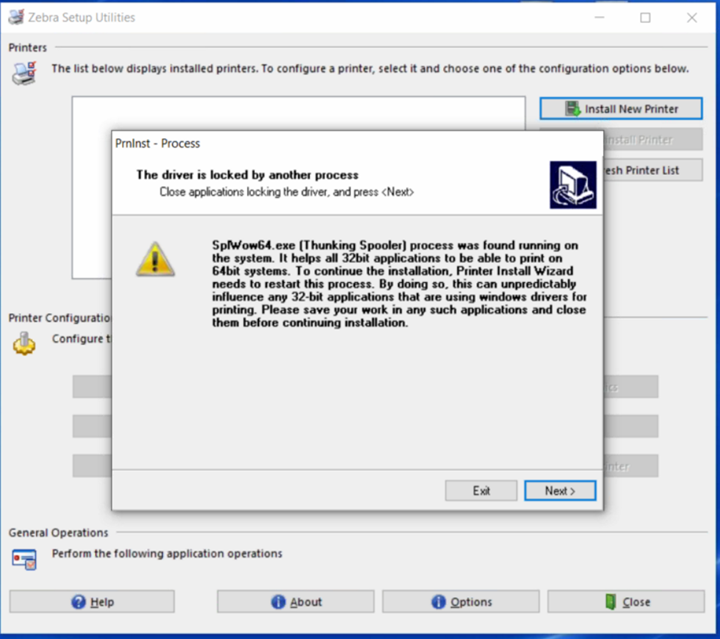
8-Hit Next.
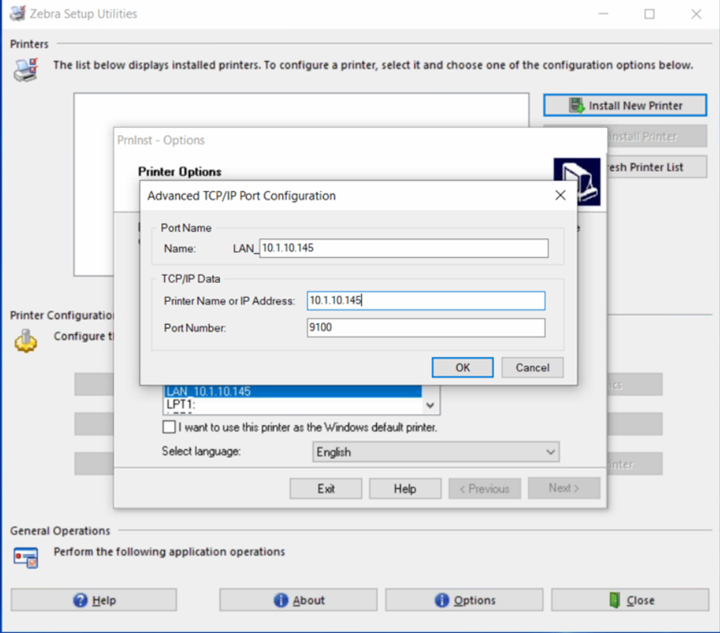
9-Enter the printer’s IP in the first two fields and press on OK.
- (Printer’s IP can be obtained by pressing and holding the feed buttonuntil the status LED flashes one time. Then release the feed button and a series of status information labels gets printed/ older models requires pressing on the Feed and cancel button for 2 seconds).
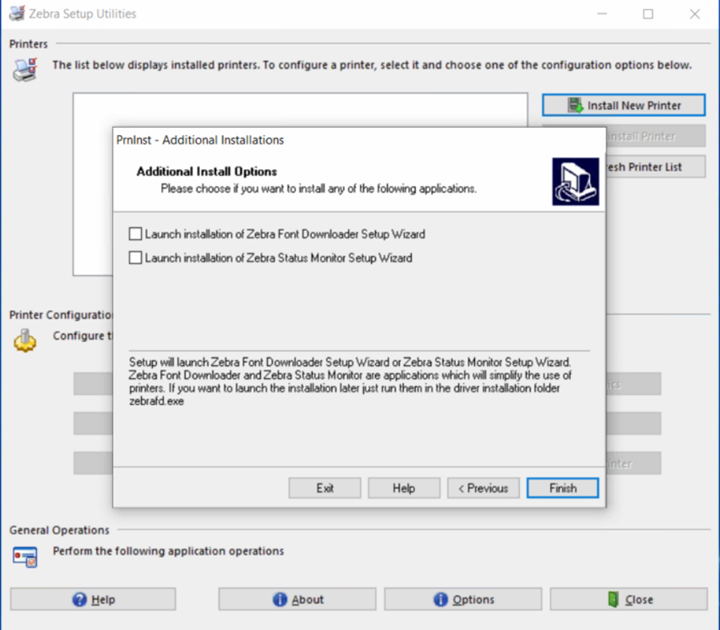
10-Hit Finish.
- You may have to Uncheck the Zebra Font Downloader box, that is not needed
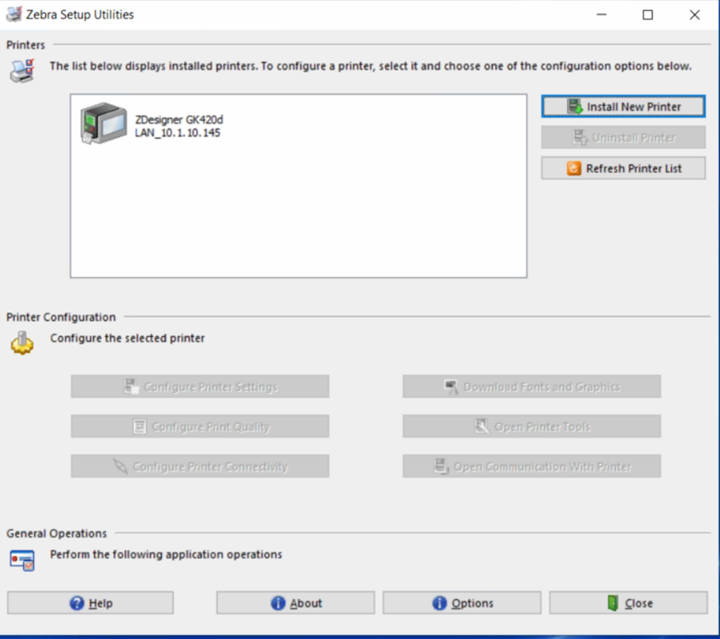
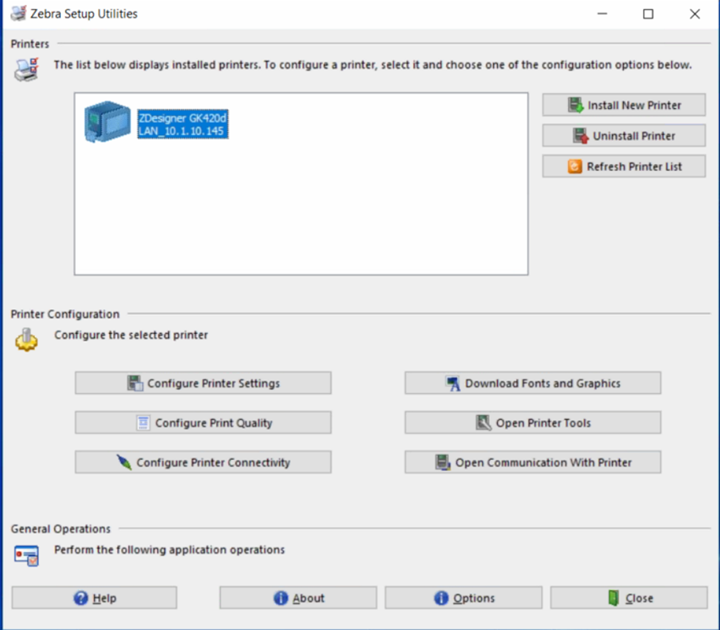
11-Click on the printer itself
12-Click Open Printer Tools
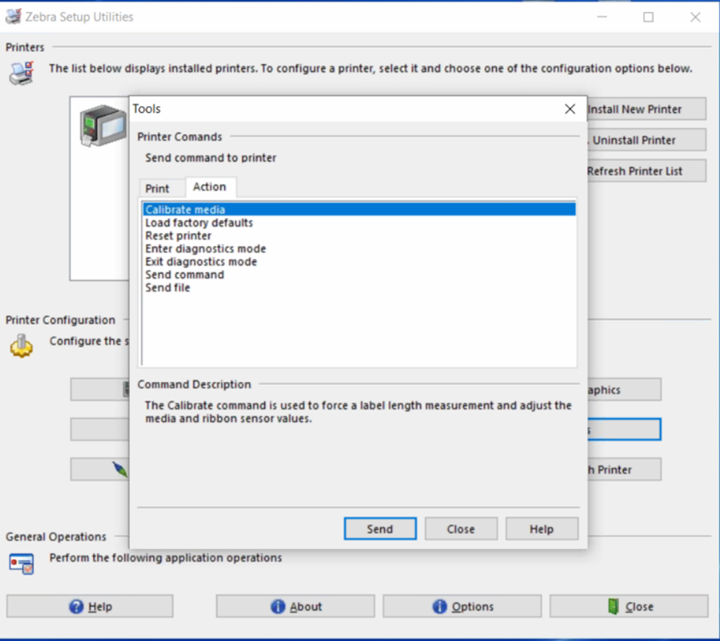
13-Press on Action and Select Calibrate media and press on Send.
- Select Load Factory Defaults and press on Send
14-The printer is ready for use.
**If at any point you run into any issues, feel free to email [email protected] for assistance.**